Quick Start - Server
Get Featureflow integrated into your server application in minutes.
1. Install the SDK
- Java
- NodeJS
- .NET
- Ruby
- Go
<dependency>
    <groupId>io.featureflow</groupId>
    <artifactId>featureflow-java-sdk</artifactId>
    <version>1.2.3</version>
</dependency>
npm install featureflow-node-sdk
Install-Package Featureflow
# Without bundler
gem install featureflow

# With bundler (add to Gemfile)
gem 'featureflow'
import (
    "github.com/featureflow/featureflow-go-sdk/featureflow"
)
2. Initialize the Client
The Featureflow client must be a singleton. Do not create a new instance on every request — this causes unnecessary reloads and degrades performance.
The client maintains an optimised cache of your feature rules and receives real-time updates.
- Java
- NodeJS
- .NET
- Ruby
- Go
FeatureflowClient client = new FeatureflowClient.Builder("srv-env-YOUR_API_KEY")
    .withFeatures(Arrays.asList(
        new Feature("logout-button", Variant.off),
        new Feature("example-feature", Variant.off)
    ))
    .build();

// In Spring, declare this in a @Configuration class
// Tip: Use an enum for feature keys to track them in your IDE
var Featureflow = require('featureflow-node-sdk');

var withFeatures = [
    new Featureflow.Feature("logout-button").build(),
    new Featureflow.Feature("example-feature").build(),
];

new Featureflow.Client({
    apiKey: "srv-env-YOUR_API_KEY",
    withFeatures: withFeatures
}, function(error, featureflow) {
    if (error) {
        throw error;
    }
    // featureflow is now initialized
});
using Featureflow.Client;

var client = FeatureflowClientFactory.Create("srv-env-YOUR_API_KEY");
require 'featureflow'

with_features = [
    Featureflow::Feature.create('logout-button'),
    Featureflow::Feature.create('example-feature')
]

featureflow = Featureflow::Client.new(
    api_key: "srv-env-YOUR_API_KEY",
    with_features: with_features
)
featureflowClient, err := featureflow.Client("srv-env-YOUR_API_KEY", featureflow.Config{
    WithFeatures: []featureflow.FeatureRegistration{
        featureflow.WithFeature("logout-button", "off").Build(),
        featureflow.WithFeature("example-feature", "off").Build(),
    },
})
Your Server Environment API Key is available on the Projects page in Featureflow.
Why Register Features?
Registering features at startup provides several benefits:
- Features appear in the dashboard immediately
- You can set a custom failover variant (default is
off) - Creates a central reference of all deployed features
3. Evaluate Features
- Java
- NodeJS
- .NET
- Ruby
- Go
// Simple evaluation
if (featureflowClient.evaluate("example-feature").isOn()) {
    // Feature is enabled
}

// With user targeting
FeatureflowUser user = new FeatureflowUser("user-123")
    .withAttribute("tier", "silver")
    .withAttribute("age", 32)
    .withAttribute("signup_date", new DateTime(2017, 1, 1, 12, 0, 0, 0));

if (featureflowClient.evaluate("example-feature", user).isOn()) {
    // Feature is enabled for this user
}
// Simple evaluation
if (featureflow.evaluate("example-feature", "user-123").isOn()) {
    // Feature is enabled
}

// With user targeting
var UserBuilder = require("featureflow-node-sdk").UserBuilder;
var user = new UserBuilder('user-123')
    .withAttribute('tier', 'silver')
    .withAttribute('age', 32)
    .withAttribute('signup_date', new Date(2017, 0, 1, 12, 0, 0, 0));

if (featureflow.evaluate("example-feature", user).isOn()) {
    // Feature is enabled for this user
}
// Simple evaluation
if (client.Evaluate("example-feature").IsOn()) {
    // Feature is enabled
}

// With user targeting
var user = new User("user-123");
user.WithAttribute("region", "sydney");
user.WithAttribute("days", new List<int> { 11, 1, 4, 29 });

if (client.Evaluate("example-feature", user).IsOn()) {
    // Feature is enabled for this user
}
# Simple evaluation
if featureflow.evaluate("example-feature", "user-123").on?
    # Feature is enabled
end

# With user targeting
user = Featureflow::UserBuilder.new('user-123')
    .withAttributes(
        tier: 'silver',
        age: 32,
        signup_date: Time.new(2017, 1, 1, 12).iso8601
    ).build

if featureflow.evaluate("example-feature", user).on?
    # Feature is enabled for this user
end
// Simple evaluation
if featureflowClient.EvaluateBasic("example-feature", "user-123").IsOn() {
    // Feature is enabled
}

// With user targeting
user := featureflow.NewUserBuilder("user-123").
    WithAttribute("tier", "silver").
    WithAttribute("age", 23).
    WithAttribute("signup_date", "2017-01-01T12:00:00+00:00").
    Build()

if featureflowClient.Evaluate("example-feature", user).IsOn() {
    // Feature is enabled for this user
}
Pass a user object with attributes to enable targeting rules. Without a user, evaluations are treated as anonymous.
4. Test Your Integration
Start your application and check the Featureflow dashboard — your registered features will appear automatically.
Congratulations! You're now using Featureflow.
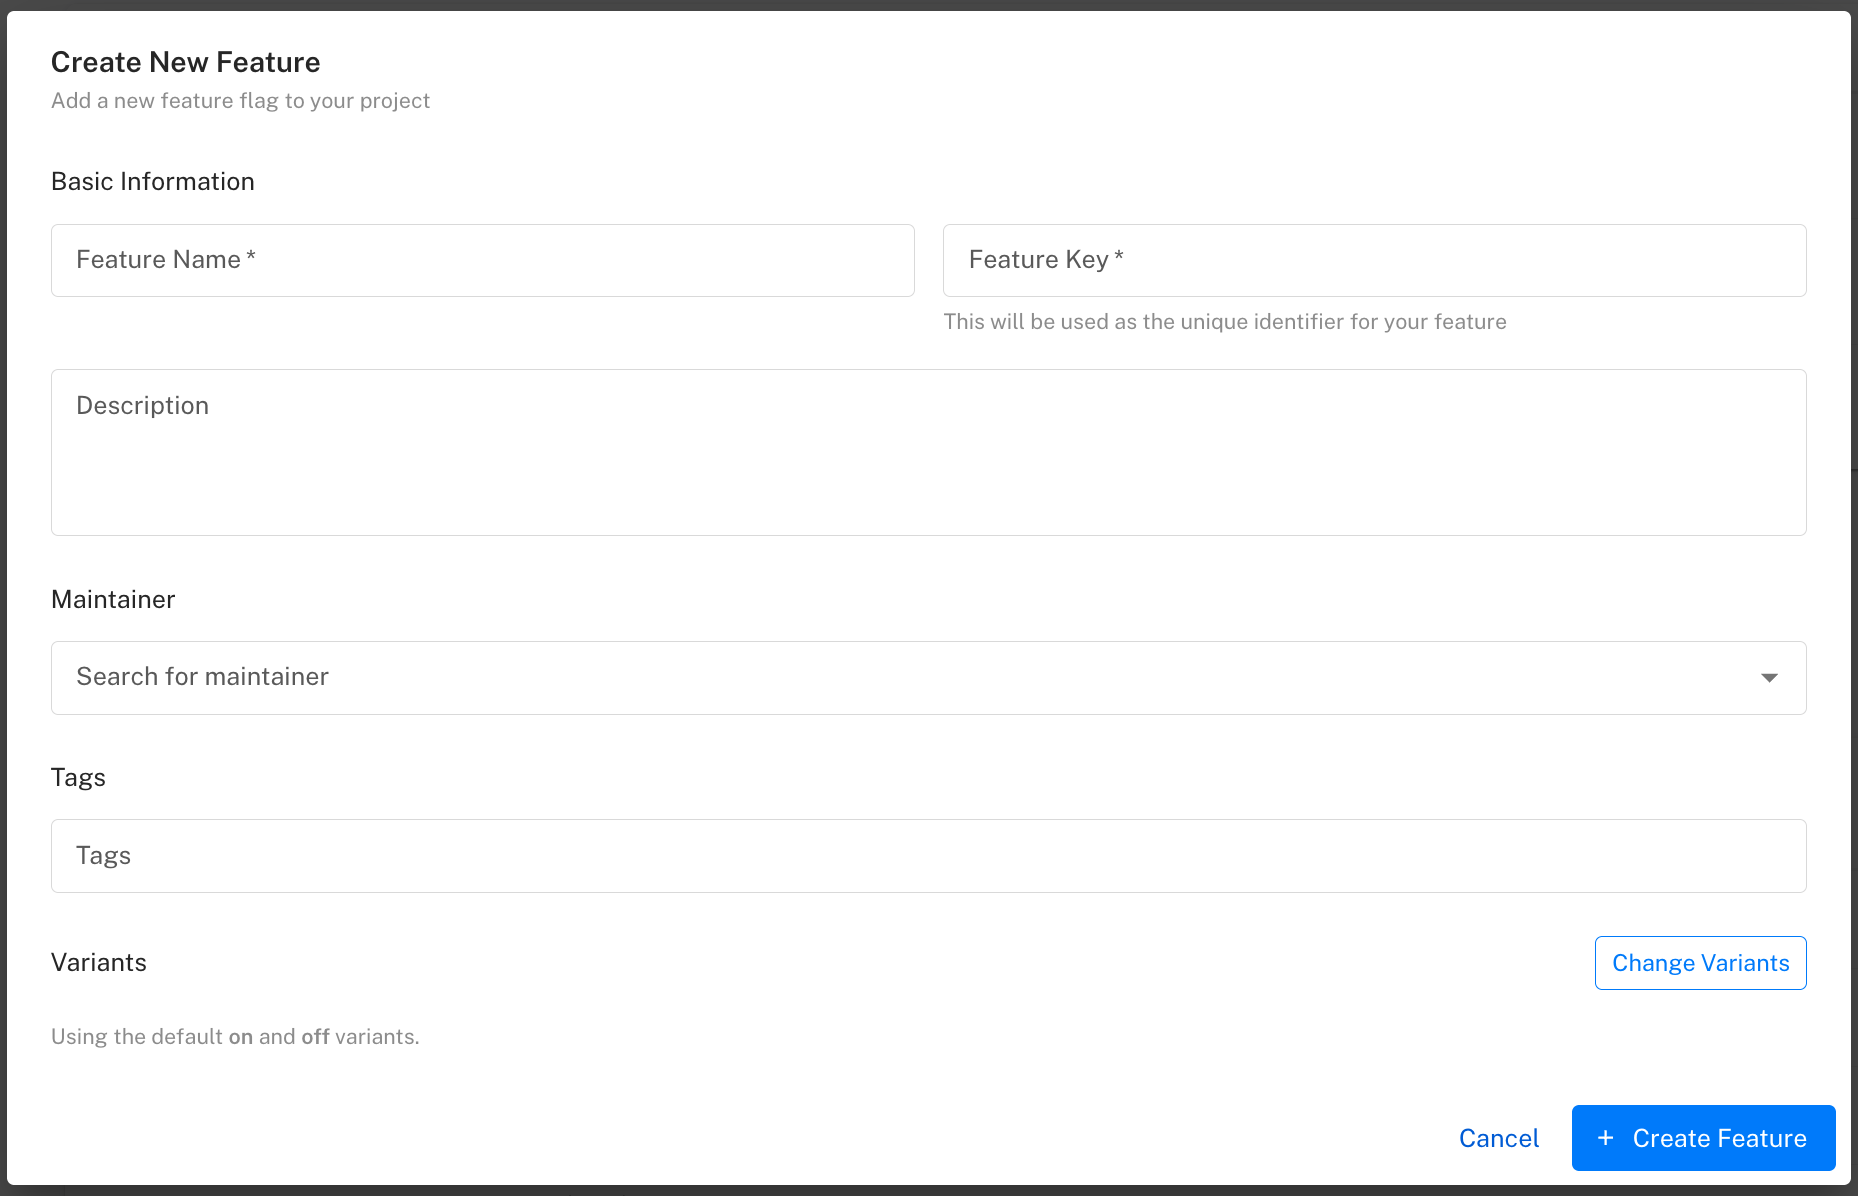
Creating Features in the Dashboard
You can also create features directly in the UI. Click + New Feature and enter a name and key:
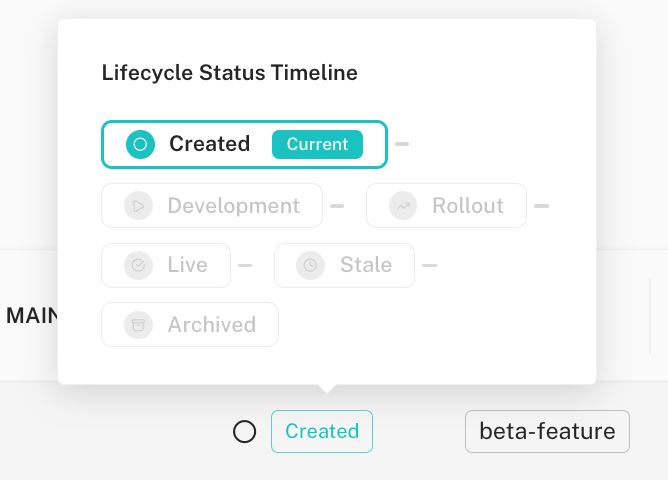
Feature Lifecycle Status
New features show a "Created" status until detected in your application. Once you evaluate the feature, the status updates to show it's active:
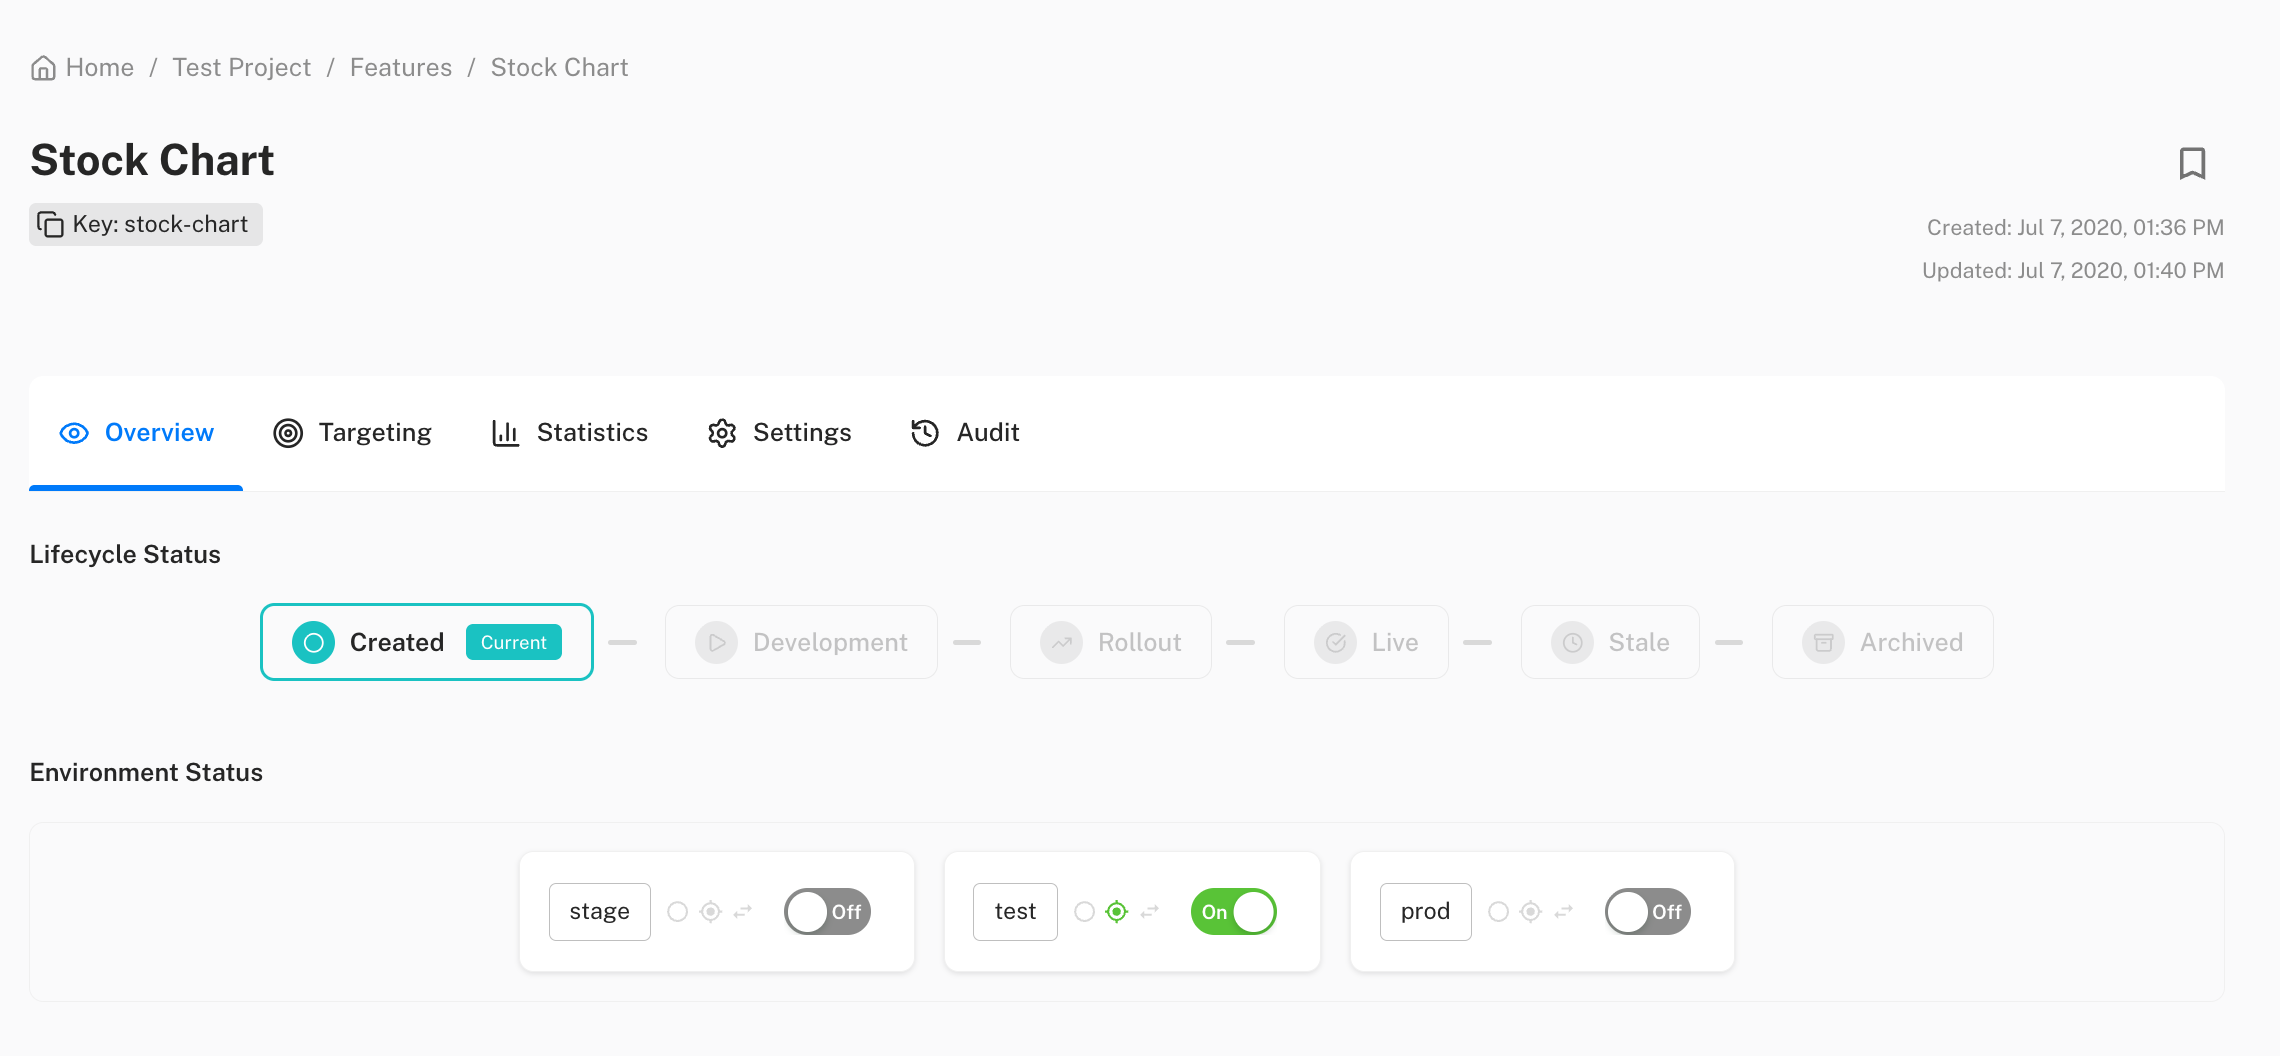
The feature detail view shows the status across all environments with quick toggles:
Next Steps
- Gradual rollouts — release to a percentage of users
- Targeting features — control who sees what
- Managing variants — beyond on/off
- JavaScript SDK — add feature flags to your frontend